Images are a great way to make your site more attractive, and can offer depth and context to both your design and content. However, hosting images on your site can have a massive impact on its performance. Forgoing image compression can greatly affect your site’s load times and bandwidth usage, which may lead to increased bounce rates.
Fortunately, you can avoid these problems by optimizing your image sizes. This is a technique that compresses image files (image compression) and adjusting quality settings to reduce file size from large format to smaller, resulting in quality images which load faster without affecting the overall quality.
In this article we’re going to take a closer look at image optimization and how it can improve a website’s speed. We’ll also introduce some solutions to help you (including the ShortPixel plugin), and demonstrate how you can use it to optimize images on your own site. Let’s get started!
Why Image Optimization Is More Important Than You Might Think
Image optimization refers to the process of compressing image files to reduce their file size, while retaining as much of their picture quality as possible. However, you may wonder why you’d bother to do this if the final result looks no different.
While including images on your site will help draw in your visitors (and can do wonders to make even the most complex text more palatable), they do come with downsides. Images file sizes are often big, significantly so in some instances, which will affect your site’s performance and increase load times.
The biggest problem with a slow-loading times is the effect it will have on your bounce rate, which refers to the number of people who leave your site before interacting with it. Considering that half of all web users expect a site to load within two seconds or less, it’s obvious why large image files can be a problem and negatively impact loading time.
This is where image optimization comes in. By cutting down the amount of data on your site you can drastically minimize the amount of time needed for it to load. It will also save you storage space and cut down on bandwidth usage, as much information needs to be transferred between your site and your visitors. With this in mind, let’s take a look at the specifics involved in optimizing images.
How to Use Offline Image Optimization
There are two primary optimization methods at your disposal. You can either use a WordPress plugin, which we’ll look at later on, or an ‘offline’ solution.
The latter method involves using a tool (such as an app or website) for image optimization, which you can then upload to your site. This may seem like a superfluous step, especially if you could just use a site-based plugin, but there are actually a number of unique benefits to using offline solutions.
First of all, you won’t put any strain on your server, or risk site incompatibility issues if there’s a technical problem. You also won’t need to worry about backing up your optimized images, since you’ll have already saved them offline.
If you’re keen to keep costs down, rest assured that you don’t need to invest in tools like Adobe Photoshop, have advanced skills in gif videos, or understand other technical terminology like “lossy compression”, etc. Downloadable tools ImageOptim or FileOptimizer are both free and open-source. For a quick and easy web-based solution, Kraken.io is free to use, but offers a premium edition with additional features. TinyPNG is another simple and free web-based tool that includes Dropbox integration:
Of course, WordPress plugins are the alternative, so let’s take a look at some quality solutions now.
4 WordPress Plugins to Help Optimize Your Images
Plugins are going to be ideal for handling image optimization directly from your WordPress dashboard, and for also potentially automating the process. There are several available options, so let’s look at some of the very best.
1. Imagify
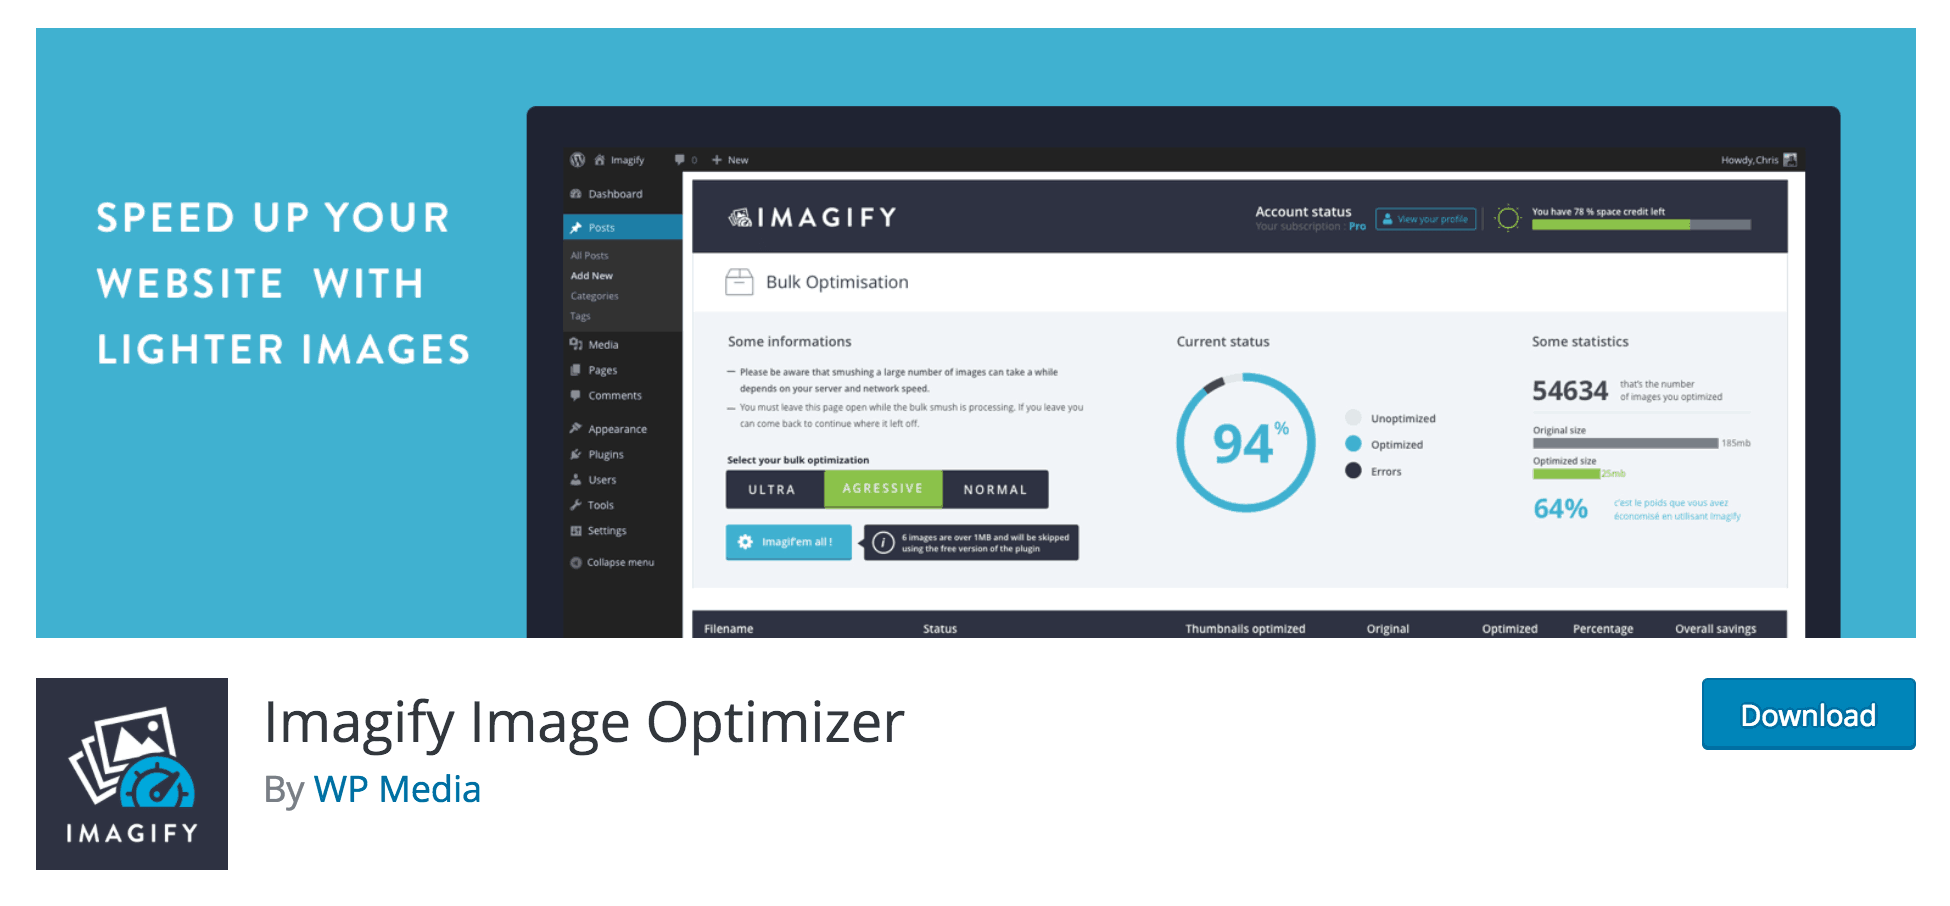
First up, Imagify offers a great deal of customization and functionality while also easy enough to use for beginners, with several file format options. There’s a generous free tier, and the interface is arguably the most sleek of the solutions on our list. Let’s rundown some of the key features:
- Offers three levels of compression: lossy, aggressive, and ultra.
- Provides a method of automatically resizing images.
- Includes bulk optimization and backup features.
The free version of Imagify enables you to optimize up to 25MB of images per month, but they also offer several premium plans. You can get a subscription that increases your monthly limit, or alternatively buy a one-time plan that gives you a specific amount of additional data.
2. ShortPixel
![]()
Next up, ShortPixel is an intuitive and comprehensive plugin that is perfect for beginners and the more experienced alike. There are three levels of optimization: lossy compression, lossless compression and ‘glossy’, along with bulk optimization, and images optimized to less than 5% are not counted towards your monthly quota. Also, because it automatically creates a backup of all your original images, you can safely test the plugin without worrying about losing the original quality settings.
- Offers an option to convert to the WebP format.
- Provides no file size limit for images.
- Offers free optimization credits for non-profit organisations.
The free tier gives you 100 credits per month, with one credit equalling one optimized image. You can buy additional credits using a monthly or one-time plan.
3. Kraken.io

The previously mentioned Kraken.io is a plugin version of the popular web interface, and offers several advanced options for automatic optimization. As with other solutions, you can bulk optimize images, and premium tiers aren’t based on a per-site license.
- Preserves image metadata tags.
- Contains options for automatic resizing and rotation.
- Enhances resized images to avoid ‘haloing’ and downsampling.
Unlike other plugins, there’s only a free trial tier, which lets you optimize up to 100MB of images. If you decide to stick with Kraken, there are several monthly and yearly plans available.
4. Compress JPEG & PNG Images
Finally, Compress JPEG & PNG Images is a plugin developed by the makers of TinyPNG that automatically runs images through their service. It’s one of the more user-friendly plugins and a great option if you’re already familiar with using the TinyPNG website.
- Offers 500 free image optimizations per month.
- Provides the ability to automatically resize images.
- Offers no restrictions on file formats and file sizes.
- Automatically converts images from the CMYK to RGB color modes.
- png, jpg and jpeg image file formats.
The free edition enables you to optimize 500 images per month, then $0.009 each for the next 9,500 images. You can check the price calculator for an estimate based on your requirements.
How to Optimize Your Images Using the ShortPixel Plugin (in 3 Steps)
Now we’ve looked at a number of different solutions for optimizing your images, let’s go through the process step-by-step. We’ll do this by using the ShortPixel plugin as it’s one of the most intuitive and easy options available.
Step 1: Request a ShortPixel API Key
After installing and activating the plugin you’ll be prompted to enter an API key, which is an identifying string that connects your site to ShortPixel’s cloud optimization tool:
![]()
If you do not already have an API key you can request one by providing your email address and clicking Request Key. This will generate a key for you and create a free account with ShortPixel. However, if you already have an API key, enter it in the second text field and click Validate.
Once you’ve requested or entered your key, you will come to the ShortPixel Plugin Settings screen that also shows your API key information.
Step 2: Configure Optimization Settings
ShortPixel offers a great deal of image compression customization, enabling you to tailor how you want images to be optimized, and to appear. The settings are split into General and Advanced, and if you want to leave them set to their recommended defaults you can do so. However, let’s quickly take a look at the General options to give you an idea of what you can do here.
![]()
On this page you can set the level of compression you want to apply, toggle if you want to optimize thumbnails as well as full-sized images, backup your original files, and remove EXIF metadata from optimized images. If you want to automatically resize any images, you can also configure those settings here:
![]()
When you’re happy with your settings you can either click Save Changes, or click Save and Go to Bulk Process if you want to start bulk optimizing your existing images.
Step 3: Optimize Your Existing Images
Once you’ve activated ShortPixel it will automatically optimize any images you upload. However, if you already have a gallery of images you want to optimize, you can do so using the Bulk Optimization Tool (found via Media > Bulk ShortPixel within WordPress).
When you open the tool you’ll be presented with a tally of your existing images, including thumbnails:
![]()
When you’re ready to run the bulk process, click the Start Optimizing button. You can now follow the process as it displays the amount of space saved for each image sizes and the entire gallery:
![]()
When the process is finished you’re done! As you can see, this is a quick and painless solution that will be hugely beneficial to your site in the long run.
Conclusion
Image optimization is an easy solution to a potentially massive problem. By making sure your image files are as small as possible, you’ll make your website load faster, reduce the risk of losing visitors and improve the overall user experience on your web page. You will also increase your visibility in search engine results, and minimize your bandwidth usage.
By using an offline optimization solution or a WordPress plugin like ShortPixel you can drastically improve your site’s performance without compromising on image quality.
Do you have any further questions about image optimization? Feel free to ask in the comments section below!
Image credits: Pixabay.