Keeping your WordPress site safe is vital, and your efforts should begin with your login page. This is one of the most vulnerable parts of your site, after all, since malicious users and bots can attempt to brute force their way in. Improving the security of this page will go a long way towards keeping out hackers, spammers, and more.
Fortunately, there are several ways you can improve the security of your login page quickly. By using a few simple methods, such as limiting login attempts and implementing Two Factor Authentication (2FA), you can ensure that your login page is not easy prey for attackers.
In this guide, we’ll discuss the current WordPress login page, including what it does well and what it’s lacking by default. We’ll then introduce a number of ways you can tighten its security. Let’s get started!
What Makes Your WordPress Login Page Vulnerable
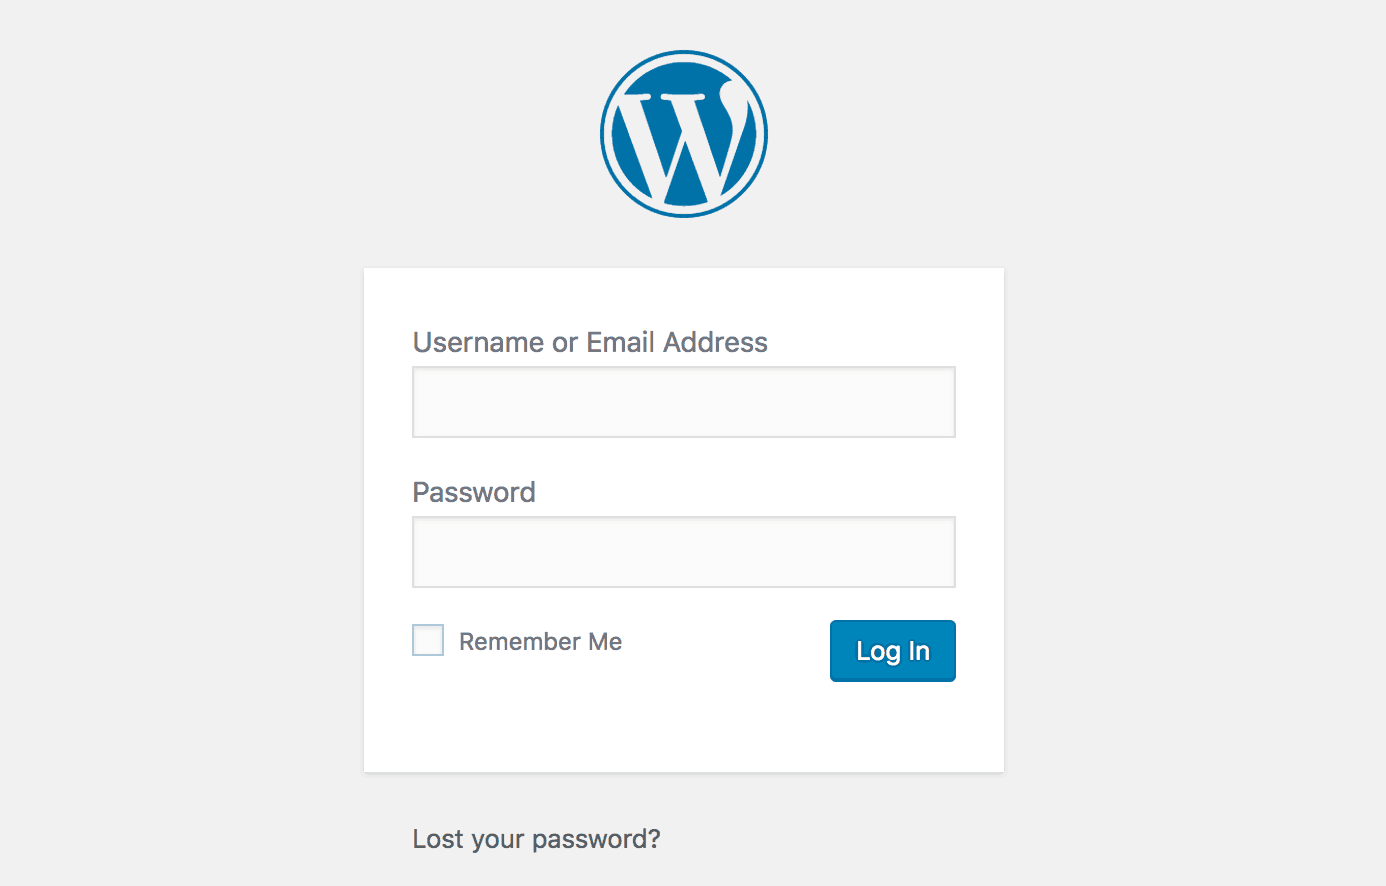
The WordPress login page is one of your site’s most prominent potential weak points. The reason why becomes obvious when you put yourself in the shoes of a potential attacker. If you were to try and break into your site, where would you start? For this reason, WordPress has done a lot of work to make sure that the standard login page is capable of sustaining most standard attacks. However, it is not impenetrable.
The most common type of hack you’ll encounter is known as the brute force attack. This is when somebody attempts to crack your login credentials, by trying new usernames and passwords until they stumble across the correct combination. This might seem like an impossibly arduous process, and it would be for a human. However, the vast majority of brute force attacks are entirely automated. A single person trying random usernames and passwords would almost certainly fail, but a bot can try millions of combinations in a second.
This is also why even small sites are vulnerable to brute force attackers. You might that think your site is unlikely to fall victim, especially if it’s a personal blog or a non-commercial site. However, an automated bot doesn’t much care what your site is all about, and has simply been programmed to go from site to site until it finds one that cracks under its pressure.
By this point, it should be clear that keeping your login page security tight needs to be a priority. Let’s take a look at some of the simplest ways you can do this (before moving on to more complex techniques).
2 General Tips for Keeping Your WordPress Login Page Secure
In the WordPress Codex article on brute force attacks, it describes them as follows:
They are, in short, an attack on the weakest link in any website’s security: You.
We don’t bring this up to make you feel bad, but rather to make you aware of why these attacks are often successful. Many site owners get sloppy when it comes to security basics, and attackers are happy to exploit this fact.
Before we dig into the more intricate methods of securing your WordPress login page, therefore, let’s look at the most essential steps for keeping attackers at bay.
1. Don’t Use “admin” As Your Username
It might be easy to remember the username “admin”, but it also makes your site much easier to crack. By leaving your username at its default, you effectively cut the time it takes attackers to crack your site in half.
When you set up the admin user for your site, therefore, you should give them a unique and difficult-to-guess username. If you already have an admin user, you can still choose a better name. You’ll just need to create a new user with the same privileges, reassign you content, and then delete the old user account.
2. Create a Strong Password
You’ve almost certainly been told this before, but it is still worth repeating. The most common reason hackers are successful is thanks to passwords that are easy to guess. By using a complex and ideally random password, you will make your WordPress login page much harder to crack.
You can start by testing your current password to see how long it would take for a machine to guess it. If you find that it’s not quite secure enough, you should generate a new one. Fortunately, this is easy to do using WordPress’ built-in password generator.
You can find this option in the WordPress admin area. Navigate to All Users, and then select your admin account to view the Edit User page. If you scroll down to the bottom of this page, you’ll see the Account Management section:
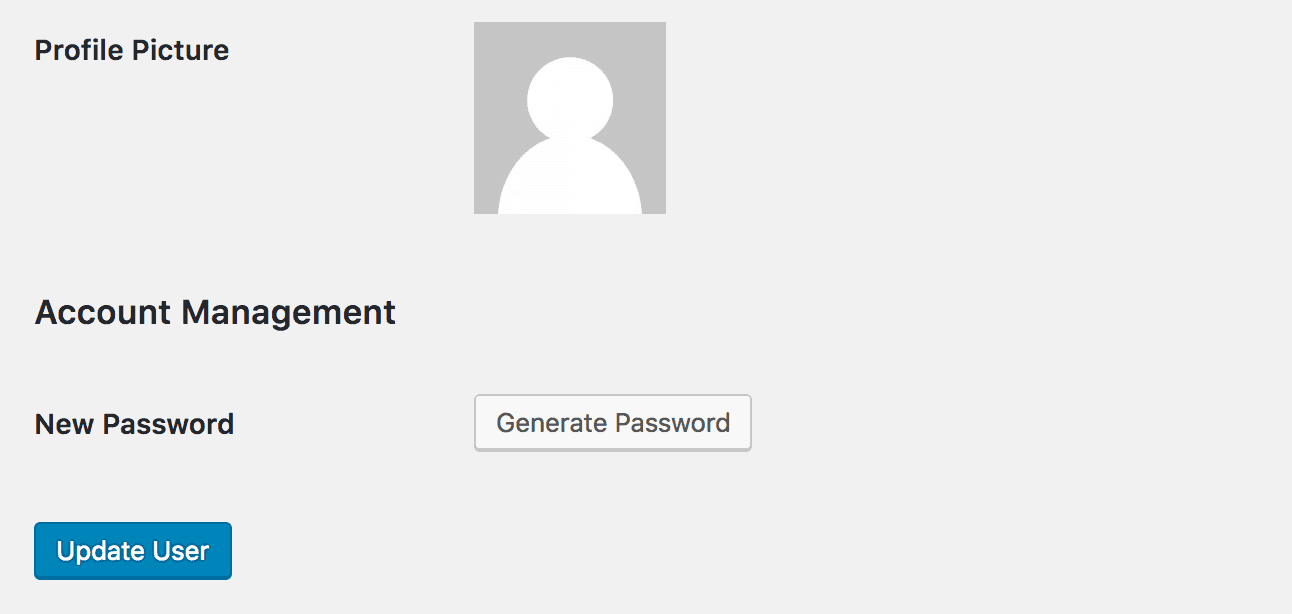
You can click Generate Password to create a new password, which you can copy and apply to the account right away.
How to Protect Your WordPress Website’s Login Page (3 Key Techniques)
Now that you’re aware of the basics, let’s dig a little deeper. We’re going to show you three more advanced techniques for securing your WordPress login page, using a few handy plugins.
1. Limit Login Attempts on Your Site
By limiting the number of login attempts allowed on your site, you can easily stop many automated bots in their tracks. That’s because they’ll no longer be able to try and log in over and over again.
One way you can do this is by using the free Limit Login Attempts Reloaded plugin:
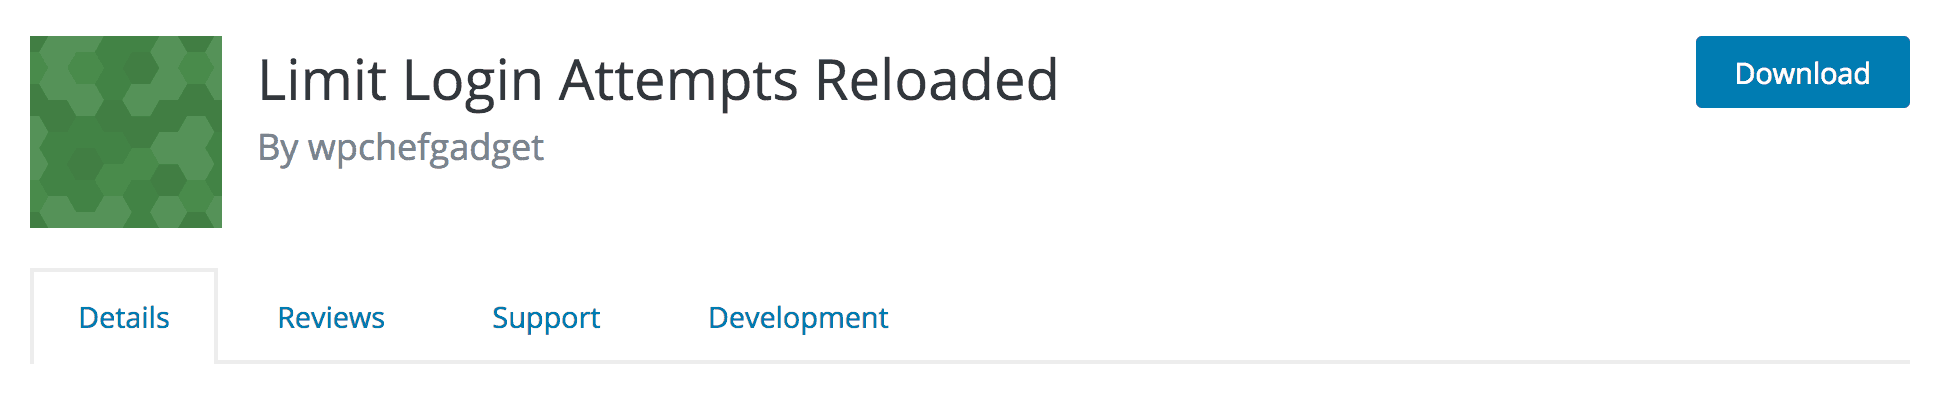
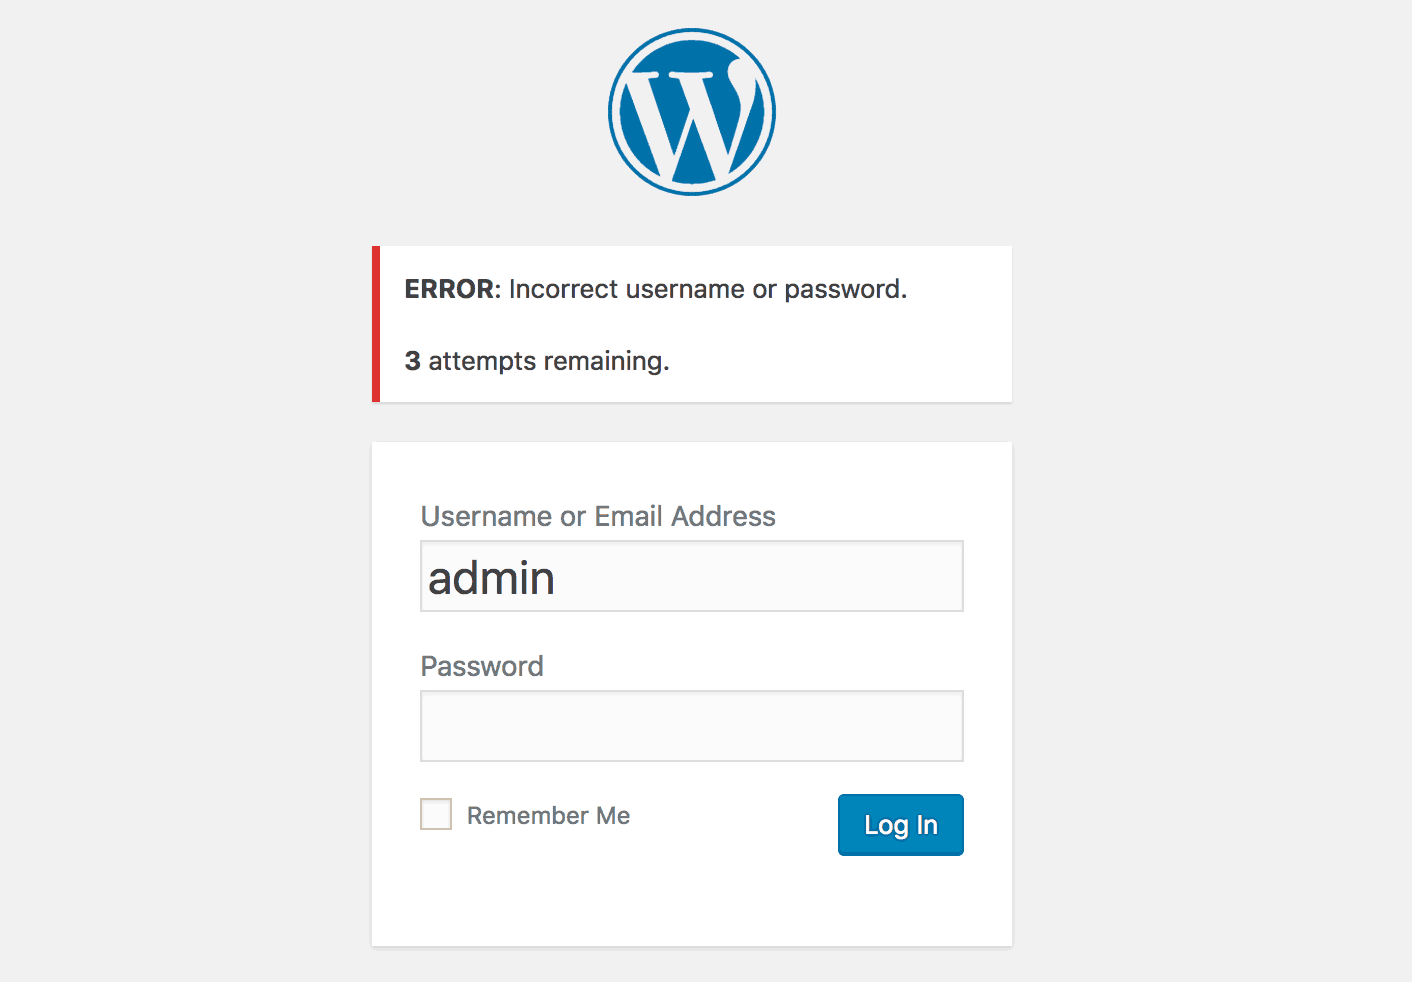
This tool will track IP addresses, and deny them further login attempts after a certain number has been reached. After you’ve installed and activated the plugin, it will automatically limit the number of login attempts to 5. If this limit is reached, the user will be locked out from further attempts for 20 minutes:
You can also configure how the plugin works by going to Settings > Limit Login Attempts:
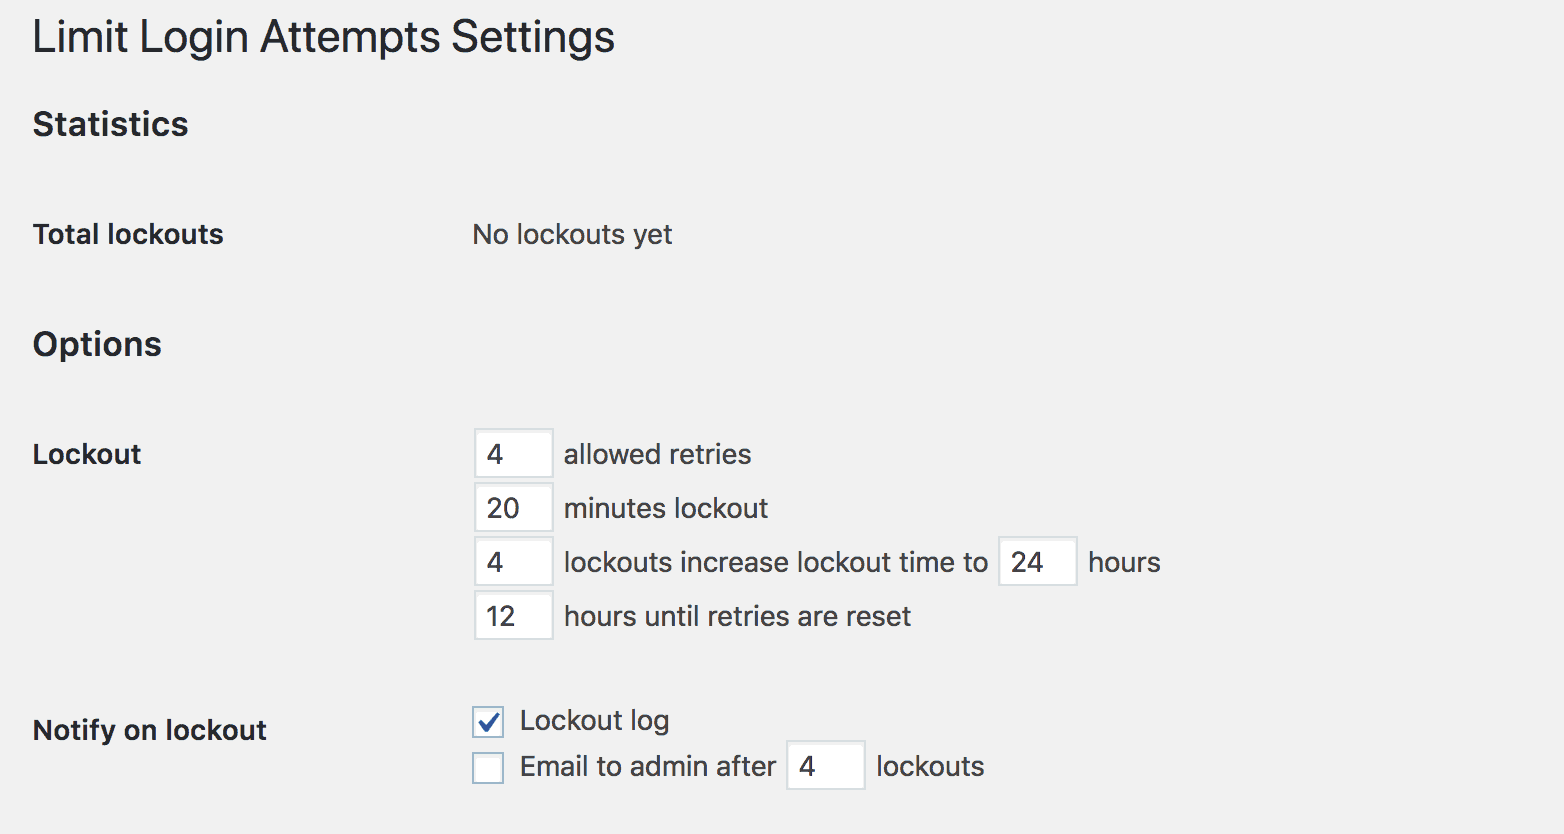
Here you can also determine how long users will have to wait until retries are reset, whether to save a log of all lockouts, and more. You can also use the whitelist and blacklist features to automatically allow or block certain IP addresses.
2. Set Up Two Factor Authentication (2FA)
When you implement Two Factor Authentication (2FA), you will be required to use an app on your smartphone or other device in order to log in to your site. This adds an additional step to the login process, to make it even harder for hackers and bots to brute force their way through. After all, it’s unlikely that a hacker will have access to your phone.
There are a number of tools that enable you to do this, but we recommend Google Authenticator:
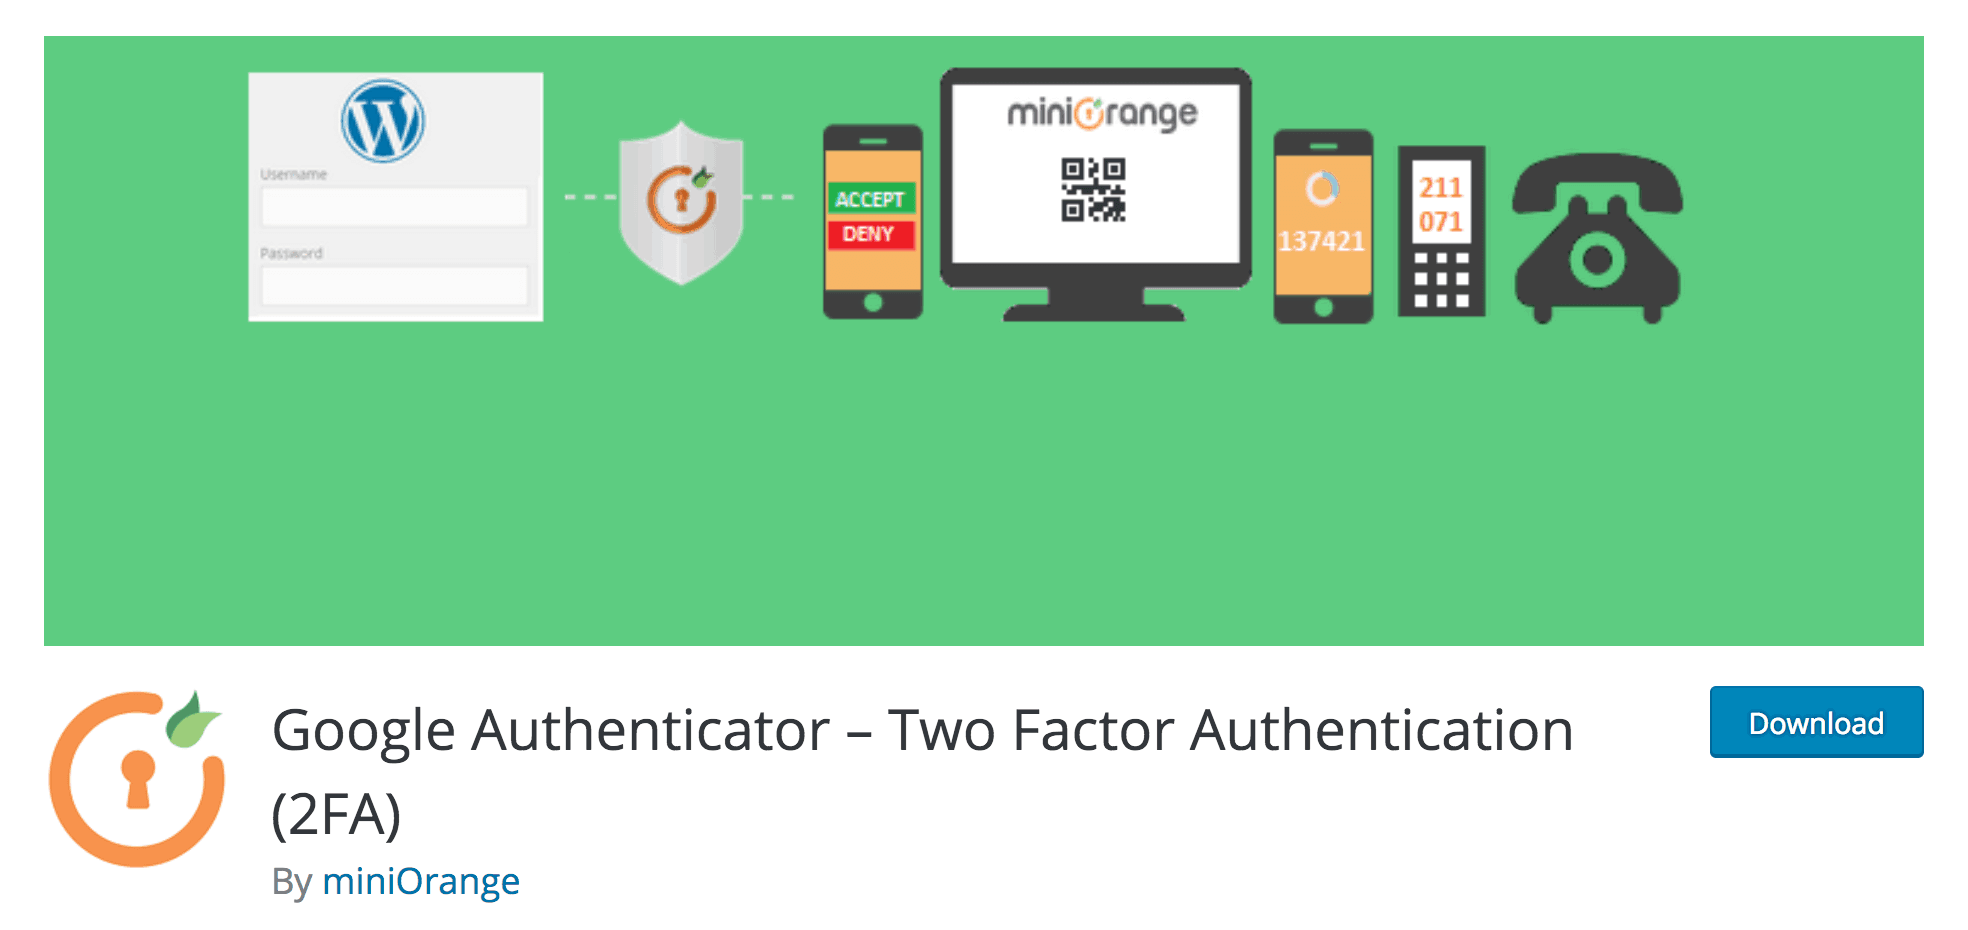
This plugin lets you set up a two-factor login process using various methods. For example, you can generate a QR code that you can scan with a mobile device, which you can then use to access your site.
When you have installed and activated the plugin, you can click on miniOrange 2 Factor Authentication in the left-hand menu to configure it:
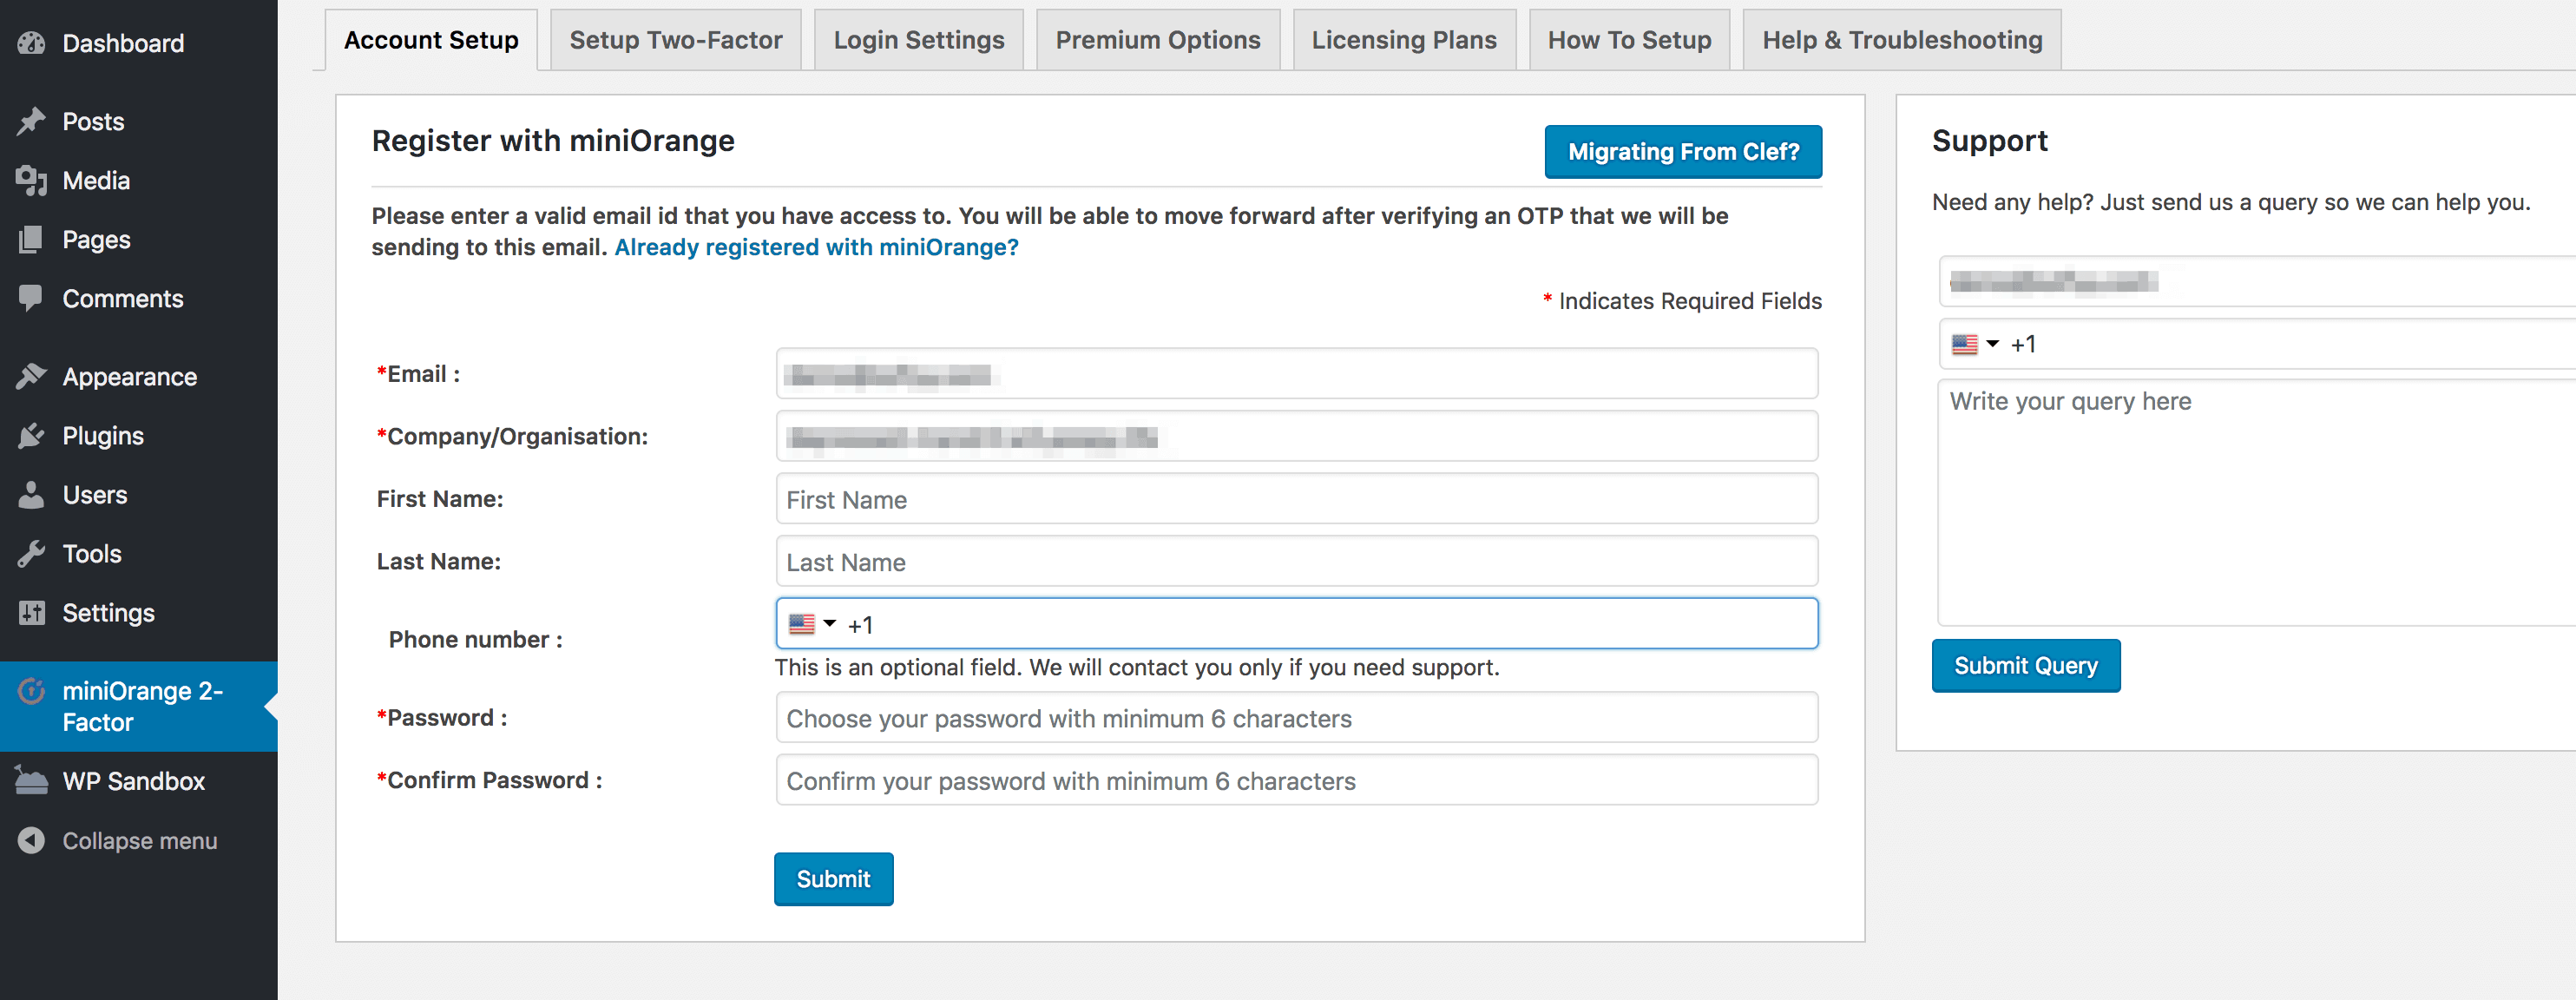
This process will require you to register with miniOrange, which you can do for free within the plugin’s settings. Depending on the two-factor method you choose, you may also need to download and install the Google Authenticator mobile app on your Android or Apple device.
For more information on how to configure Google Authenticator, you can refer to the How To Setup and Help & Troubleshooting sections in the plugin’s main settings. In addition, you can also check out the plugin’s official FAQ.
3. Change Your Login Page URL
Before a hacker can attack your login page, they need to be able to find it. By changing its URL, you can stop a lot of automated attacks that will be looking for your login page at the default wp-login address.
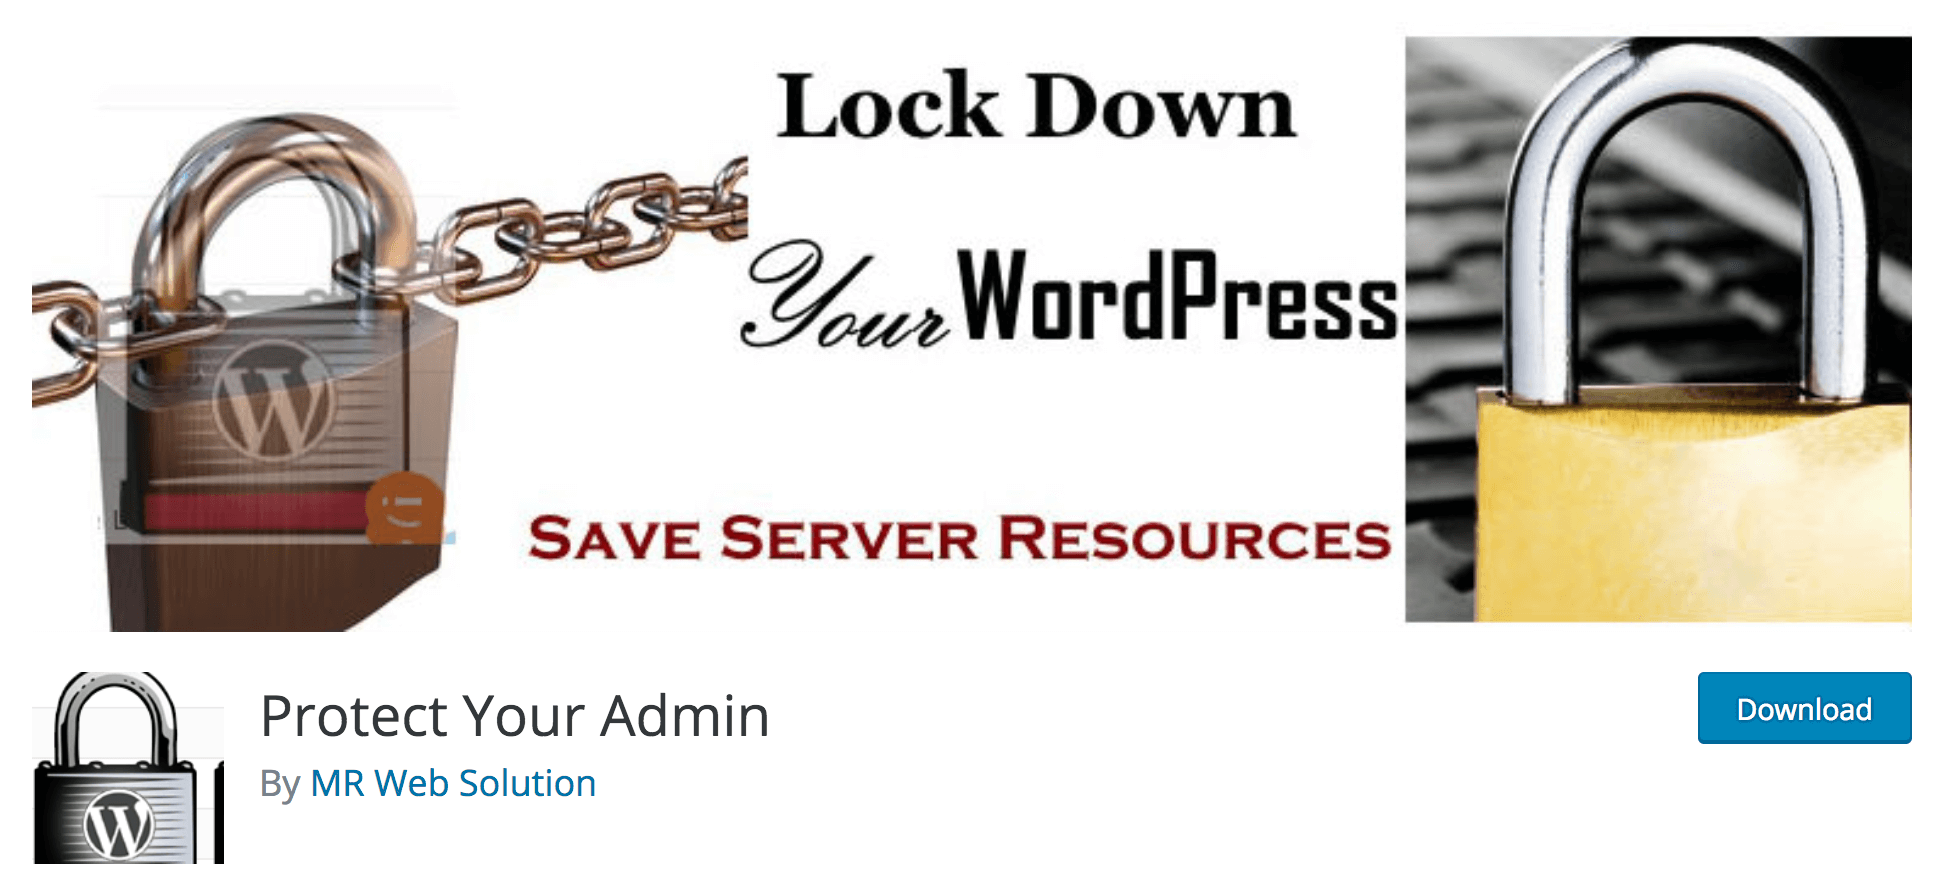
You can use the Protect Your Admin plugin to implement this technique:
This tool also contains a number of other helpful features, such as options for changing the appearance of your login page. After installing and activating it, you can go to Settings > Protect WP-Admin to configure the main settings. The first option you’ll see is to change the URL slug for your login page:
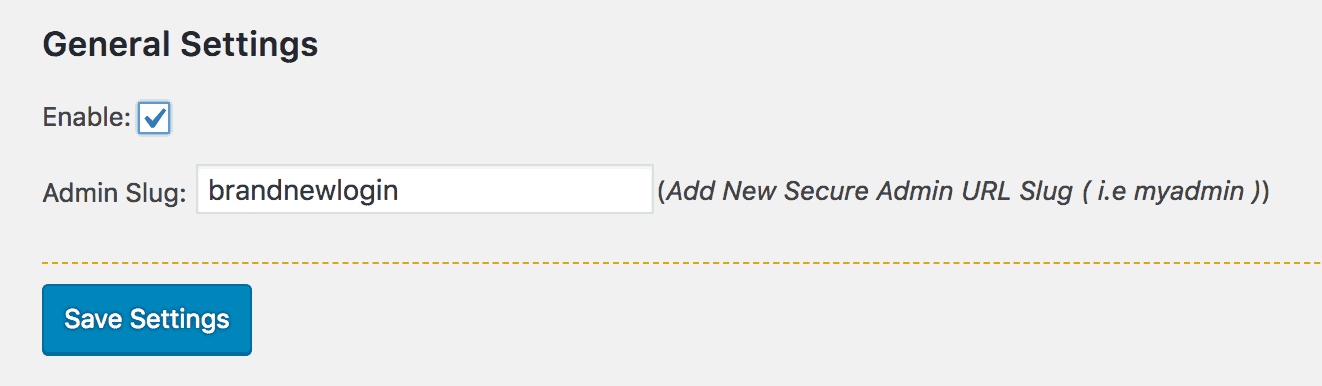
Tick the Enable checkbox, and enter your desired slug in the text field right below. You can use anything, but just make sure that you remember it! Otherwise, attackers won’t be the only ones who can’t find your login page.
Click on Save Settings when you’re done, and then try to reach your login page using the old URL. It won’t work, and you’ll instead be bounced back to your home page. However, if you enter the slug you just specified, you should see your login page as usual.
Conclusion
Safety is not something to take lightly. Recognizing where your site’s weak points are and taking measures to strengthen them is paramount for avoiding successful attacks. The login page is one of the most exploitable targets on a WordPress site, so it should be a top priority.
In this guide, we’ve looked at some of the ways you can make your WordPress login page more secure. Follow the steps outlined here, and you’ll have far less reason to worry about attackers:
- Limit login attempts on your site.
- Set up two-factor authentication.
- Change your login page URL.
Do you have any questions about protecting your WordPress login page? Let us know in the comments section below!
Image credits: Pixabay.